
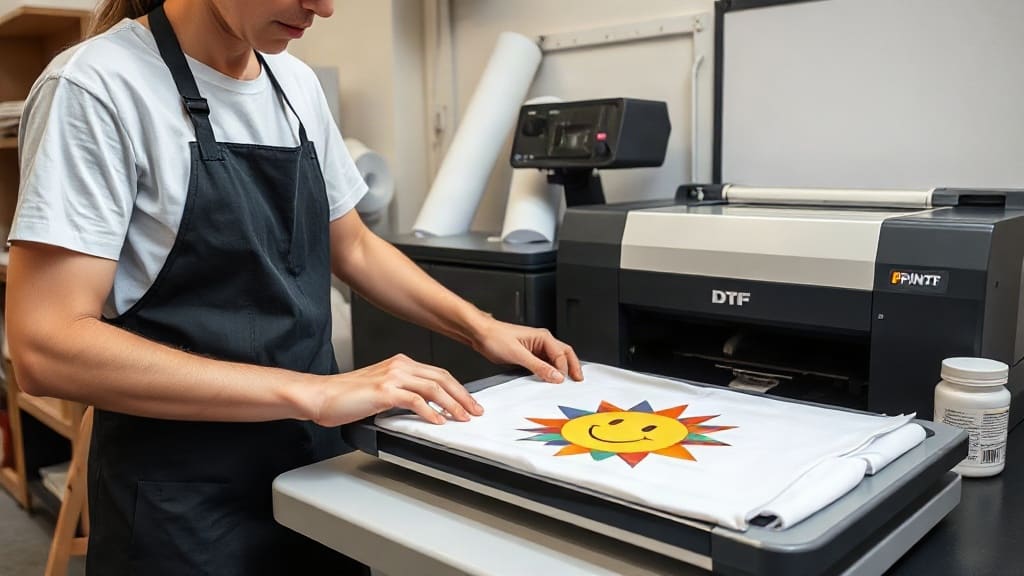
If you've been looking for a way to enter the custom apparel market without the heavy overhead of screen printing or embroidery, DTF transfers might be the perfect solution. I remember when I first stumbled upon this technology at a local trade show. The booth was showcasing a simple printer that could produce full-color designs on a special film, and within minutes, those designs were pressed onto shirts with a heat press. It looked almost too easy. But as I dug deeper, I realized that DTF transfers are not just a fad; they offer a practical, low-risk entry point for entrepreneurs, small business owners, and even hobbyists who want to turn their creative ideas into a profitable venture.
In this comprehensive guide, I'll walk you through everything you need to know about DTF transfers, from how they work to the equipment you'll need and the pitfalls to avoid. Whether you're a complete beginner or someone looking to expand an existing business, you'll find actionable insights that can set you on the path to success.
What Are DTF Transfers?
DTF stands for Direct to Film. Unlike direct-to-garment (DTG) printing, which prints directly onto the fabric, DTF printing involves printing your design onto a special PET film, applying a powder adhesive, and then heat-pressing that film onto the garment. The result is a vibrant, durable print that can be applied to a wide range of fabrics, including cotton, polyester, blends, and even nylon.
One of the biggest advantages of DTF transfers is that they are incredibly versatile. You can produce them in advance, store them, and only press them when you have an order. This means you don't need to keep a large inventory of printed shirts. You can also print on demand for custom orders, which significantly reduces waste and upfront costs.
Why DTF Transfers Are a Low-Risk Business Model
Starting any business involves some level of risk, but DTF transfers offer a more forgiving path compared to traditional methods. Here's why:
Lower Startup Costs
Compared to screen printing, which requires expensive screens, emulsions, and exposure units, DTF printing requires a DTF printer, a heat press, and some consumables. You can get a starter setup for a few thousand dollars, whereas screen printing equipment can easily run tens of thousands. This lower barrier to entry makes it accessible for many aspiring entrepreneurs.
No Minimum Order Quantities
With screen printing, you typically need to order at least a dozen of each design to make it cost-effective. With DTF transfers, you can print a single transfer and apply it to one shirt. This is perfect for testing new designs, fulfilling small custom orders, or catering to niche markets. You can create a design, print just one transfer, and see how it sells before committing to more.
Flexibility and Speed
DTF transfers allow you to fulfill orders quickly. You can print transfers in-house, which means you control the turnaround time. If you need to meet a deadline for an event or a customer, you can do it without relying on a third-party fulfillment service. This speed also enables you to offer a wider variety of designs without holding large stock.
How Does the DTF Transfer Process Work?
Understanding the process is crucial to producing high-quality transfers. Here's a step-by-step breakdown:
- Design Creation: Use graphic design software like Adobe Photoshop or Illustrator to create your artwork. Ensure your design is high resolution (at least 300 DPI) and has a transparent background if needed. Save it in a format compatible with your RIP software, usually PNG or TIFF.
- Printing: Load your PET film into the DTF printer, which prints your design using CMYK plus white ink. The white ink layer is essential because it creates an opaque base that makes colors pop, especially on dark garments.
- Adhesive Powder Application: After printing, you need to apply a hot-melt adhesive powder to the wet ink. This powder is what bonds the print to the fabric. You can do this manually using a shaker box or invest in an automatic powder shaker for consistency.
- Curing: The film with the powder is then passed through a curing oven or heat tunnel to melt the powder slightly and set it. This step ensures the adhesive is activated and ready for pressing.
- Pressing: Place the transfer on your garment with the design facing down. Use a heat press at around 320°F (160°C) with medium pressure for 10-15 seconds. Peel the film while it's still hot or cold, depending on the type of film you use.
- Finishing: Your garment is ready! You can then fold and package it for your customer.
Essential Equipment for DTF Transfers
To get started, you'll need a few key pieces of equipment. Here's a checklist to help you set up your DTF station:
- DTF Printer: Look for a printer that is specifically designed for DTF printing, or convert a standard Epson or other inkjet printer with DTF inks. The printer needs a white ink circulation system to prevent clogging.
- Heat Press: A reliable heat press is essential for transferring the design onto garments. You can use a clamshell or a swing-away press, but ensure it has accurate temperature and pressure controls.
- PET Film: This is the carrier film that holds your design. It comes in rolls or sheets and must be compatible with your printer.
- Adhesive Powder: Hot-melt adhesive powder is available in different micron sizes. A common choice is 400-800 microns for most applications.
- Curing Oven or Heat Gun: While you can use a heat press to cure the powder, a dedicated curing oven or a heat gun can provide more consistent results.
- RIP Software: This software manages the printing process, especially for color management and white ink layering. Many DTF printers come with a basic RIP, or you can invest in more advanced options like Flexi or Wasatch.
- Compressor (optional): Some DTF printers require compressed air for cleaning and maintenance.
Tips for Producing High-Quality DTF Transfers
Quality is key to customer satisfaction. Here are some practical tips that I've picked up from my own experience and from talking to other professionals in the industry:
Master Your RIP Software Settings
The RIP software controls how your printer lays down the ink. Spend time learning how to adjust the white ink layer, print speed, and color profiles. A common mistake is printing too much white ink, which can cause a thick, rubbery feel. Conversely, too little white ink can lead to colors looking dull on dark fabrics.
Calibrate Your Colors
Color consistency is crucial, especially if you're creating branded merchandise. Use a color profile that matches your printer and ink set, and regularly calibrate your monitor to ensure what you see on screen is what you get on film.
Choose the Right Adhesive Powder
The particle size of the powder affects the feel and adhesion. Finer powder (around 400 microns) is suitable for smaller designs or those that need a softer hand. Coarser powder (800 microns) provides stronger adhesion for dark or textured fabrics. Test different sizes to find what works best for your applications.
Maintain Your Printer Regularly
DTF printers, especially those using white ink, require regular maintenance to prevent clogging. Make sure you run cleaning cycles daily, and if you're not printing for a while, store the printer properly. I learned this the hard way when my printhead clogged after a weekend of inactivity, and it cost me time and money to fix.
Test on Different Fabrics
Not all fabrics react the same way to heat and pressure. Always test a sample on the exact fabric you'll be using before doing a bulk order. This helps you adjust your press time, temperature, and pressure for the best results.
Common Mistakes to Avoid
Even with the best equipment, mistakes happen. Here are some common pitfalls and how to avoid them:
- Ignoring White Ink Management: White ink is the backbone of DTF printing. If you don't shake and circulate the ink properly, you'll end up with faded prints or clogged printheads.
- Incorrect Press Settings: Too much heat can scorch the fabric, and too little heat can result in poor adhesion. Always follow the manufacturer's recommendations for your film and powder.
- Not Using a Teflon Sheet: When pressing, you should place a Teflon sheet or parchment paper between the heat press and the film to protect it from burning and to prevent the adhesive from sticking to the platen.
- Skipping the Curing Step: Some beginners try to skip curing and go straight to pressing, but this leads to weak adhesion and cracking after washing. Always cure the powder properly.
- Overlooking Legalities: If you're printing trademarked designs without permission, you could face legal issues. Stick to your own original artwork or obtain proper licenses.
Frequently Asked Questions
Can DTF transfers be used on any type of fabric?
Yes, DTF transfers are incredibly versatile and can be applied to cotton, polyester, blends, and even nylon. However, you may need to adjust your press settings for delicate fabrics like nylon to avoid melting or scorching. Always test on a small piece first.
How long do DTF transfers last on garments?
With proper application and care, DTF transfers can last as long as the garment itself, typically withstanding 40 to 60 washes. To maximize durability, wash garments inside out in cold water and avoid using bleach or harsh detergents.
Do I need a special printer for DTF transfers?
While you can convert an existing inkjet printer to use DTF inks, it's highly recommended to invest in a dedicated DTF printer. These printers are designed to handle the thicker white ink and often come with features like a white ink circulation system to prevent clogging.
Can I start a DTF transfer business with just a small setup?
Absolutely. Many successful sellers start with a single DTF printer, a heat press, and a small workspace. As you grow, you can invest in more advanced equipment like an automatic powder shaker and a larger curing oven to increase efficiency.
Final Thoughts
DTF transfers have opened up a world of opportunities for custom apparel enthusiasts. The low startup cost, flexibility, and ability to produce high-quality prints make it an attractive option for anyone looking to start a business or add a new revenue stream. Remember, success doesn't happen overnight. Take the time to learn your equipment, experiment with different designs and fabrics, and always strive to improve your craft. With patience and persistence, you'll be well on your way to building a profitable venture.
I hope this guide has given you a solid foundation. If you're ready to take the plunge, start by researching the best DTF printers and supplies for your budget, and don't be afraid to ask questions in online communities. The DTF community is full of friendly and knowledgeable people who are willing to help. Good luck, and happy printing!