
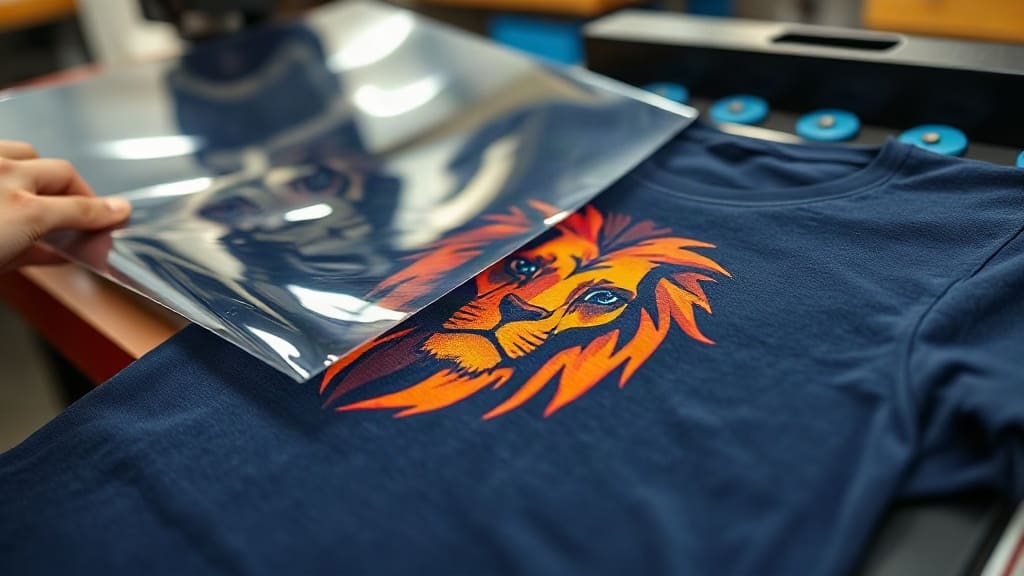
If you're in the custom apparel industry, you've likely heard of DTF transfers. They've revolutionized the way small businesses and hobbyists create vibrant, durable designs on garments. In this guide, I'll share everything I've learned from using DTF transfers in my own print shop, including what they are, how they differ from other methods, and how to get the best results every time.
What Are DTF Transfers?
DTF stands for Direct to Film. It's a printing method where a design is printed onto a special PET film using a DTF printer and pigment inks. The printed film is then coated with a hot-melt adhesive powder, which is cured, and finally transferred onto a substrate (like a t-shirt) using heat and pressure.
What makes DTF transfers so appealing is their versatility. Unlike traditional screen printing, you don't need screens or setup for each design. You can print full-color images with gradients and details that are difficult to achieve with other methods. Plus, they work on a wide range of fabrics, including cotton, polyester, blends, and even denim.
Why Choose DTF Transfers Over Other Methods?
If you're comparing DTF to screen printing, vinyl, or sublimation, there are several advantages that often tip the scale.
Versatility in Fabric Types
Screen printing and vinyl work well on cotton, but they can struggle with synthetic fabrics. Sublimation only works on polyester or light-colored garments. DTF transfers adhere to nearly any fabric, making them a one-stop solution for diverse product lines.
Detail and Color Reproduction
With DTF, you can print intricate designs with many colors, gradients, and even photographic elements. The image quality is comparable to direct-to-garment printing, but you don't need a separate printer for every color.
No Minimum Order Quantities
Screen printing often requires large minimums to be cost-effective. With DTF transfers, you can print one or a hundred of the same design without significant cost differences. This is perfect for personalized orders or testing new products.
Ease of Application
Applying a DTF transfer is straightforward: pre-press the garment, place the film, press with heat, peel, and cover with a Teflon sheet for a final press. It's less messy than screen printing with inks and screens, and there's no weeding like with vinyl.
How to Order DTF Transfers: A Step-by-Step Guide
Ordering DTF transfers can be seamless if you know what to look for. Here's a practical guide based on my experience.
1. Prepare Your Artwork
Your design should be in high resolution, ideally 300 DPI at the final print size. Save it as a PNG with a transparent background if you want the design to have no white box. If your design has white areas, ensure they are included as a separate layer or as white ink in the DTF process.
2. Choose a Reputable Provider
Not all DTF transfers are created equal. Look for a provider that uses quality inks and films. Read reviews and ask for samples before placing a large order. The adhesive quality and stretchability will affect the final look.
3. Specify Size and Quantity
Decide on the print size. Common sizes range from 4x4 inches for chest logos to 12x16 inches for back prints. For quantities, DTF transfers have low minimums, but some providers offer discounts for bulk orders.
4. Test Before Committing
Always order a proof or sample. When you receive it, apply it to the type of garment you plan to use. Check washability, stretch, and feel. This step has saved me from many costly mistakes.
Applying DTF Transfers Like a Pro
Even the best transfer fails if applied incorrectly. Here's my proven process.
Equipment and Supplies
You'll need a heat press (or a good iron), Teflon sheets, and a clean, flat surface. A heat press is highly recommended for consistent results.
Step-by-Step Application
- Pre-press the garment for 3-5 seconds to remove moisture and wrinkles.
- Place the DTF transfer on the garment with the film side up.
- Press at 160°C (320°F) for 10-15 seconds with medium to firm pressure.
- Peel the film while it's still hot (hot peel) or after it cools (cold peel), depending on the provider's instructions. Most recommend hot peel for DTF.
- Place a Teflon sheet over the design and press again for 5 seconds to ensure complete adhesion.
- Let the design cool before handling.
Troubleshooting Common Issues
If the transfer isn't adhering well, try increasing pressure or temperature slightly. If the film doesn't peel cleanly, you might have under-pressed. If the design cracks after washing, the transfer might be of poor quality or not enough adhesive was applied.
Design Tips for DTF Transfers
To make the most of DTF transfers, your designs should be optimized for the process.
- Use vibrant colors, but be aware that white areas will be printed as white ink, which can be slightly thick.
- Avoid extremely fine details or thin lines, as they may not wash well.
- Consider the placement and size. Chest prints typically look best 4-5 inches wide, while back prints can be 10-12 inches.
- Add a white layer under colors if the garment is dark. This is automatically handled in DTF, but ensure your design doesn't rely on the garment color showing through.
Cost-Effectiveness of DTF Transfers
For small runs, DTF transfers are incredibly cost-effective. You pay a per-print fee, often around $1-$3 for a standard size, plus a small setup fee if you're not using a provider that offers no setup costs. Compare that to screen printing setup fees of $50 or more, and you'll see why DTF is a game-changer for startups.
As your volume grows, you can even invest in your own DTF printer, but until then, using a service provider is smart. Just remember to factor in shipping and potential rush fees.
Common Mistakes to Avoid
Even experienced printers make errors. Here are the most common ones I've seen:
- Not pre-pressing the garment, leading to poor adhesion.
- Using too low temperature or too short press time.
- Peeling too early or too late, causing ink to lift off.
- Not using a Teflon sheet for the final press, which can scorch the film.
- Ordering from cheap providers that use low-quality films that crack after a few washes.
Frequently Asked Questions
Can DTF transfers be used on dark-colored garments?
Absolutely. In fact, DTF excels on dark fabrics because the white ink base ensures the colors pop. Just make sure the provider prints a solid white layer.
How many washes do DTF transfers last?
With proper application and quality materials, DTF transfers can last 50+ washes without significant fading or cracking. Always follow the care instructions: wash inside out in cold water and tumble dry on low.
Do I need a heat press to apply DTF transfers?
While a heat press is recommended for consistent pressure and temperature, you can use a household iron. However, it's trickier to get even pressure. If you're serious about quality, invest in a heat press.
Can I use DTF transfers on performance fabrics or nylon?
DTF works on most synthetic fabrics, including polyester and nylon, but the stretchability may be limited. Always test a sample first, especially on performance wear that requires four-way stretch.
What is the difference between DTF and DTG?
DTG (Direct to Garment) prints directly onto the shirt using a large printer. DTF prints onto film and then heat transfers. DTF offers more flexibility for different fabrics and doesn't require a white ink printer for dark garments, making it more accessible for small businesses.