
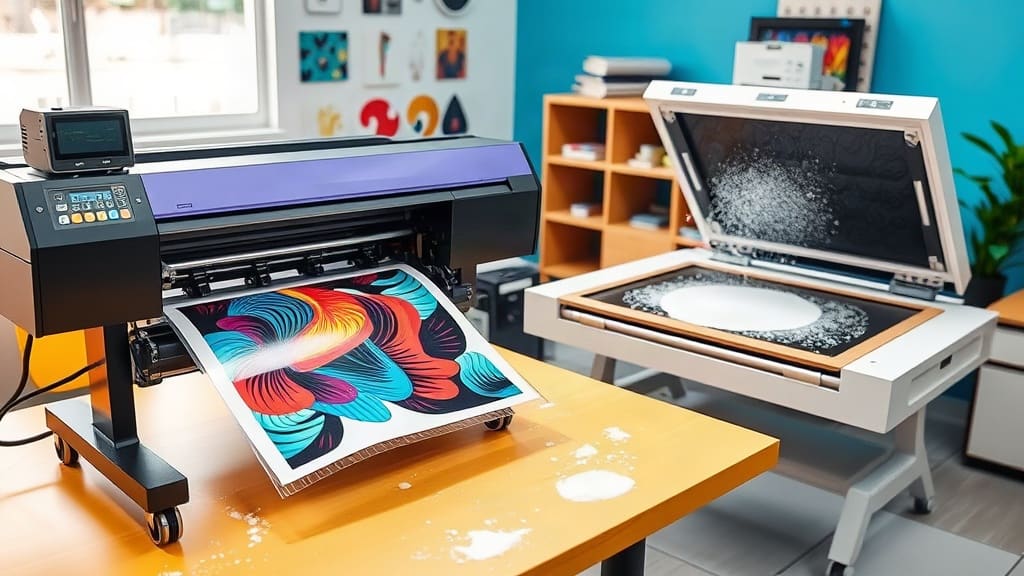
If you're exploring custom apparel printing, you've probably heard about DTF transfers. This innovative method has taken the industry by storm, offering a flexible and vibrant way to print designs on various fabrics. As someone who has spent years in the printing business, I've seen technologies come and go, but DTF (Direct to Film) printing stands out for its ease of use and exceptional results. Whether you're a hobbyist with a home setup or a business owner looking to scale, understanding this technique can open up new possibilities.
What Are DTF Transfers?
DTF transfers are a printing method where a design is printed onto a special PET film using a DTF printer and then transferred to fabric using a heat press. Unlike traditional screen printing or vinyl, DTF doesn't require separate screens or complex weeding for intricate designs. The process is surprisingly simple: print an inverted design on the film, apply adhesive powder, and heat press it onto your garment. The result is a soft, durable print that can handle multiple washes.
One of the biggest advantages is that DTF works on a wide range of materials, including cotton, polyester, blends, and even hard surfaces like mugs or bags. This flexibility makes it a favorite among custom print shops and independent creators.
Why DTF Transfers Are Gaining Popularity
The apparel industry is always looking for faster, cheaper, and better ways to produce custom items. DTF transfers deliver on all three fronts. Here's why they're becoming a go-to choice:
- Versatility: You can print on almost any fabric without worrying about type or color.
- Vibrant Colors: The ink layering on film produces rich, vivid colors that pop.
- Soft Feel: The prints have a smooth texture that doesn't crack or peel easily.
- Cost-Effective: For small runs or single items, DTF is more affordable than screen printing.
- Quick Turnaround: Once your setup is ready, you can produce prints in minutes.
From my experience, businesses that adopt DTF see a significant reduction in production time and material waste. Unlike screen printing, where you need to set up screens for each color, DTF prints all colors in one pass. This efficiency is a game-changer for small batch orders.
Essential Equipment for DTF Printing
Getting started with DTF requires a few key pieces of equipment. While the initial investment might seem high, the long-term benefits outweigh the costs.
DTF Printer
You'll need a printer that supports DTF printing. Many popular printers, like the Epson EcoTank series, can be converted for DTF use with specialized inks. However, dedicated DTF printers come with features like built-in white ink circulation, which prevents clogging.
PET Film
This is the film onto which your design is printed. It comes in different widths and qualities. Opt for a high-release film to ensure clean transfers.
Adhesive Powder
After printing, you need to apply hot-melt adhesive powder while the ink is still wet. This powder bonds the design to the fabric during heat pressing.
Heat Press
A good heat press is crucial. You'll use it to transfer the design from the film to your garment. A clamshell or swing-away press works well for most applications.
Shake and Cure Oven
Not mandatory but highly recommended. An oven or a dedicated powder shaker ensures even adhesive coverage and cures the print properly. If you're just starting, you can shake the powder manually and use a heat gun or a heat press for curing, but the results are more consistent with an oven.
When I first started, I used a converted Epson printer and a manual powder shaker. It took some trial and error, but once I got the hang of it, the quality matched commercial standards.
Step-by-Step Process to Create DTF Transfers
Here's a detailed breakdown of how to make your own DTF transfers. Follow these steps, and you'll be producing professional-looking prints in no time.
Step 1: Prepare Your Design
Use graphic software like Adobe Illustrator or Photoshop to create your design. Ensure it's at a high resolution (at least 300 DPI) and save it with a transparent background. If your design has text, make sure it's converted to outlines to avoid font issues.
Step 2: Print on Film
Load the PET film into your DTF printer with the matte side up. Print your design using the DTF profile. The printer will lay down the CMYK colors and then a layer of white ink underneath. This white base ensures that the colors remain vibrant on dark fabrics.
Step 3: Apply Adhesive Powder
Immediately after printing, while the ink is still wet, apply the adhesive powder evenly over the design. Make sure to cover all areas, especially the edges. Shake off the excess powder. The powder sticks only to the wet ink, so any unprinted areas will be clean.
Step 4: Cure the Adhesive
Preheat your oven or powder shaker to the recommended temperature (usually around 160-180°C). Place the film with the powder in the oven for about 60-90 seconds. This melts the adhesive and fuses it to the ink. Alternatively, you can use a heat press with a Teflon sheet, but be careful not to overheat.
Step 5: Cut and Store
Once cured, your DTF transfer is ready. You can cut out individual designs and store them for later use. They have a shelf life of several months if kept in a cool, dry place.
Step 6: Heat Press Transfer
When you're ready to apply the transfer, preheat your heat press to about 170-180°C. Place the transfer on your garment with the film side facing up. Press for 15-20 seconds with medium pressure. Let it cool slightly, then peel the film off. For best results, do a cold peel for a matte finish or a hot peel for a glossy look.
I remember my first successful transfer: a complex logo with multiple colors. The process was smooth, and the result was indistinguishable from a screen-printed shirt, but with a softer feel.
Tips for Perfect DTF Transfers
To ensure your prints come out flawless every time, keep these tips in mind:
- Use White Ink Wisely: The white underbase is essential for dark fabrics, but for light fabrics, you can opt for a no-white mode if your printer supports it, to reduce cost.
- Control Humidity: DTF powders and inks are sensitive to humidity. Store them in a dry environment to prevent clumping.
- Test with Your Fabrics: Different materials have different heat tolerances. Always do a small test before bulk production.
- Clean Your Printer Regularly: White ink tends to sediment. Run a cleaning cycle daily if you print frequently.
- Invest in Quality Film: Cheap films can cause adhesive issues or poor release. Stick to reputable brands.
Another pro tip: when peeling the film, do it at a 45-degree angle to ensure the design stays intact and doesn't lift off the fabric.
Common Mistakes to Avoid
Even experienced printers can run into issues. Here are pitfalls to sidestep:
- Skipping the Curing Step: If you don't cure the adhesive properly, the transfer won't stick to the fabric.
- Using Too Little Powder: Insufficient powder leads to poor adhesion and cracking after washing.
- Applying Too Much Heat: Excess heat can melt the film or cause discoloration. Stick to recommended temperatures.
- Ignoring the Fabric Type: While DTF works on many fabrics, some with special coatings might not accept the transfer well.
I once tried to print on a performance fabric with moisture-wicking properties, and the transfer didn't adhere properly. It's always best to test on a scrap piece first.
DTF Transfers vs. Other Methods
Understanding how DTF compares to other printing methods can help you decide if it's right for you.
DTF vs. Screen Printing
Screen printing is ideal for large runs of the same design, but it requires extensive setup and is not cost-effective for small orders. DTF transfers are perfect for low to medium volumes, offering full-color prints without the setup hassle.
DTF vs. DTG (Direct to Garment)
DTG prints directly onto the garment and is great for detailed designs, but it only works on cotton and is slower. DTF can print on any fabric and allows you to pre-print designs and press them on demand, saving time.
DTF vs. Vinyl Cutting
Vinyl is limited to solid colors and requires weeding, which is tedious for intricate designs. DTF offers unlimited colors and gradients without weeding, making it superior for complex artwork.
From a business perspective, DTF offers a unique advantage: you can print a sheet of multiple designs and cut them as needed, reducing waste and inventory.
Applications of DTF Transfers
The versatility of DTF opens up a world of possibilities. Here are some common applications:
- Custom T-Shirts: The most popular use, whether for personal expression or promotional merchandise.
- Sportswear: Since DTF adheres well to polyester, it's perfect for sports jerseys and activewear.
- Tote Bags: Add logos or designs to fabric tote bags for a personalized touch.
- Denim: DTF works great on jeans and jackets, offering a unique look.
- Home Textiles: Customize cushion covers, aprons, or even curtains.
I've seen creative uses like printing pet portraits on bandanas or creating custom patches for uniforms. The sky's the limit.
How to Start Your Own DTF Business
If you're considering turning this into a business, here's a roadmap to get you going.
Market Research
Identify your target audience. Are you catering to local sports teams, online customers, or small fashion brands? Understanding their needs helps you tailor your services.
Investment and Costs
Starting a DTF business requires an initial investment in equipment, materials, and workspace. Calculate your costs and set competitive pricing. As you grow, you can scale up your production.
Marketing Strategies
Use social media platforms like Instagram and TikTok to showcase your work. Before and after videos of the printing process are particularly engaging. Partner with local influencers to reach a wider audience.
In my journey, building a strong online presence was key. I shared tutorials and behind-the-scenes content, which helped attract customers who valued transparency and quality.
Frequently Asked Questions
Can DTF transfers be used on all fabric types?
Yes, DTF transfers work on cotton, polyester, blends, and even some synthetic materials. However, fabrics with water-resistant coatings or extremely stretchy materials may require special handling. Always test a small area first.
How many washes do DTF prints last?
With proper curing and application, DTF prints can withstand 50-100 washes without significant fading or cracking. To maximize longevity, wash garments inside out in cold water and avoid using harsh detergents.
Do I need a special printer for DTF transfers?
While you can convert some regular printers, it's recommended to use a dedicated DTF printer. These come with features like white ink circulation and are designed to handle DTF inks, ensuring consistent quality.
What is the difference between DTF and sublimation?
Sublimation works by printing on a transfer paper and then applying heat and pressure to transfer dye into polyester fabrics. It's limited to light-colored, polyester-rich materials. DTF, on the other hand, can print on any fabric, including dark and cotton, without the need for a white base layer.
Can I use DTF transfers for small orders?
Absolutely. One of the main advantages of DTF is its low minimum order requirement. You can print a single shirt or a hundred with the same ease, making it perfect for custom orders and print-on-demand services.
Conclusion
DTF transfers have revolutionized the custom apparel industry, making high-quality printing accessible to everyone. Whether you're looking to start a side hustle or upgrade your existing printing business, this technology offers unmatched flexibility and quality. With the right equipment and a bit of practice, you'll be creating stunning prints that impress your customers. So why wait? Dive into the world of DTF and unleash your creativity.