
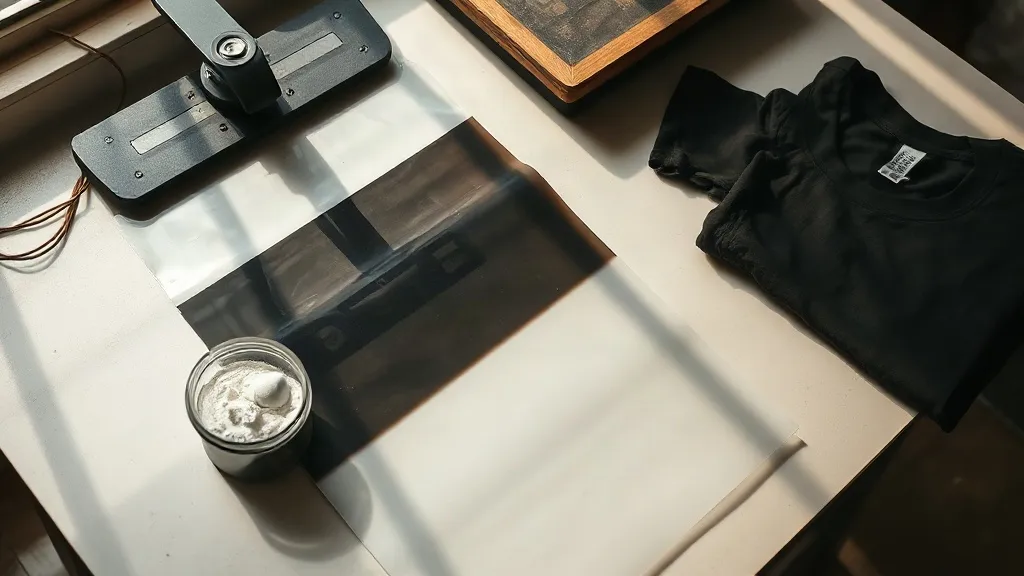
Walk into a small print shop on a Tuesday morning and you will probably see three things: a heat press that has been running since seven, a stack of shirts someone needs by Friday, and a laptop with four files open that are all slightly wrong. That is the reality of production work. DTF transfers have changed how that morning looks for a lot of shops, because they remove the setup cost that used to make short runs painful. No screens, no color separations per garment, no minimum order from a supplier that takes two weeks to ship. You print, you powder, you cure, you press. That simplicity is real, but it also hides a set of small details that decide whether a job looks sharp or comes back to you as a complaint.
This guide is not about why dtf is popular. You probably already know that. It is about the parts that actually matter on the shop floor: how to prepare files that press cleanly, what powder and cure really do, which press settings to start with, how to store film so it does not fail in three months, and how to fix the handful of problems that come up again and again. If you are running a small operation and want fewer reprints, this is the stuff worth reading.
What Actually Happens Inside a DTF Transfer
A DTF film is a multilayer sandwich. The bottom layer is the carrier film itself, usually a PET sheet with a release coating. On top of that sits the printed image: a white ink base, then color inks, then sometimes a second white layer depending on the design. The final piece is the adhesive powder, which is shaken onto the wet ink and then melted so it fuses into a flexible glue layer.
When you press the transfer onto fabric, the powder layer softens again and bonds to the fibers. The carrier film peels away because the release coating was designed to let go. What stays behind is a thin, stretchy film of ink and adhesive that moves with the garment instead of cracking off it. That is the whole trick. Understanding this stack explains almost every failure you will encounter, because each problem traces back to one layer doing its job badly.
Why the White Layer Carries So Much Weight
Color inks are translucent. On a white shirt that hardly matters. On a black shirt, color ink alone would look muddy and washed out. The white base layer blocks the garment color so the colors on top read correctly. This is why white ink coverage and curing quality matter more than anything else in the process. A weak white base produces dull prints no matter how good your color profile is.
File Prep That Saves You a Reprint
Most ruined transfers were ruined before the printer ever started. A few habits will cut your failure rate noticeably.
- Set up at final print size. Do not scale in the RIP unless you have to. Text that looks fine on screen at 30 percent can turn into a blurry mess when enlarged to fill a shirt back.
- Keep small text above roughly 8 points at final size, and avoid very thin strokes. Powder needs something to grab onto, and hairline details do not hold adhesive well.
- Knock out background whites unless you genuinely want a white box behind the design. Accidentally printing a white background is one of the most common beginner mistakes.
- Mirror the artwork. DTF prints face down onto the film, so the file has to be flipped. Most RIP software handles this, but check it before you print a 20-shirt run.
- Leave a small margin. Artwork that runs to the very edge of the film is hard to powder evenly and tends to curl during pressing.
If you are ordering transfers rather than printing in house, these same rules apply to the files you send. A supplier can only work with what you give them, and a poorly prepared file is not their fault.
Powder and Cure: The Step Everyone Rushes
Powder application looks simple and is easy to get subtly wrong. The goal is an even coat with no bare patches and no thick clumps. Shake the film gently, let the excess fall off, and check the surface at an angle under good light. Bare spots become spots where the transfer will not adhere, and those show up as peeling corners weeks later.
Curing is where the adhesive actually melts. Under-cured powder stays grainy and releases badly. Over-cured powder turns brittle and can yellow, and on some films it makes the carrier harder to peel. Follow the temperature and time your film manufacturer specifies rather than guessing, and check your oven or heat source with an infrared thermometer. A few degrees of drift across the platen is normal, and knowing where the cool spots are lets you rotate film through the hot zones.
A Quick Cure Check
After curing, the powder layer should look slightly glossy and feel smooth, not sandy. Bend a cooled scrap piece between your fingers. It should flex without flaking. If it cracks, your cure or your powder coat is off, and you should fix that before running a real order.
Press Settings to Start From
Every press and every film behaves a little differently, so treat these as starting points and adjust from there.
- Temperature: around 300 to 320 degrees Fahrenheit for most cotton and cotton blends.
- Pressure: medium to firm. You want the transfer fully in contact with the fabric, not crushed into it.
- Time: 10 to 15 seconds for the press, then a second short press of about 5 seconds after peeling, with a cover sheet.
- Peel: warm peel for most films. Pulling stone cold or piping hot both cause problems.
Always test on a scrap garment from the same batch you are producing. Two shirts from different suppliers can press completely differently even when the labels say the same fiber content.
Choosing a Supplier When You Need One Fast
Plenty of shops print their own film and still keep a backup source for rush orders and oversized designs. If you are searching for dtf transfers near me because a customer just moved a deadline up by four days, check three things before you order: turnaround time stated in business days rather than vague promises, whether gang sheets are available so you can fill a sheet with several small designs, and how the transfers ship. Film that arrives bent or exposed to heat is film you cannot use.
Ask for a sample before committing to a large run. A supplier who will not send a couple of test transfers is telling you something. Press the sample on the exact fabric you plan to use, wash it twice, and look at it again. That twenty minute test has saved more shops than any review section ever will.
Storage and Handling After the Sale
Transfers are not shelf stable forever. Store them flat, away from heat, humidity, and direct light. A sealed bag in a cool drawer is fine. Film left in a hot car or a humid back room will absorb moisture, and moisture is the enemy of a clean peel. If you sell transfers to customers, tell them this in writing. A short care card prevents a lot of angry messages.
For finished garments, the usual advice holds: wash inside out, cold water, no fabric softener, and skip the dryer or use low heat. Direct iron contact on the print will damage it. A pressing cloth solves that.
The Fixes for Common Failures
Peeling corners after washing. Usually under-cured powder, uneven pressure, or a fabric with a heavy water-repellent finish. Try a pre-press to drive off moisture and finish, and check your pressure across the whole platen.
Patchy, grainy adhesive. Uneven powder coat. Shake more evenly and tap off excess rather than pressing it in.
Dull colors on dark shirts. Thin white ink layer or a white layer that did not cure fully. Increase white coverage and verify cure temperature.
Transfer sticking to the carrier. Over-curing, or peeling too cold. Adjust time down slightly and peel warm.
Cracking along stretch points. Too much pressure during pressing flattens the adhesive into the weave. Ease off and let the film sit on top of the fabric rather than inside it.
Frequently Asked Questions
Can I use DTF transfers on polyester and nylon?
Polyester blends generally work well, though you should lower the press temperature a little and test first, since some poly fabrics can scorch or show press marks. Nylon and heavily coated performance fabrics are trickier and often need a lower temperature with a longer dwell. Always run a test piece before committing to a full order.
How long do DTF transfers last once printed?
Stored flat in a cool, dry place and away from light, most transfers stay usable for several months. Humidity is the main threat. If film feels limp or the powder looks tacky, dry it gently before pressing and expect a slightly less reliable peel.
Do I need a special printer to make my own transfers?
Yes. DTF requires a printer with white ink capability and a RIP that can control white layer placement. Standard desktop inkjets cannot do this. Many small shops start by ordering transfers from a supplier and only invest in their own setup once volume justifies it.
What is a gang sheet and should I use one?
A gang sheet packs several designs onto one large film so you pay for one sheet instead of many. It is efficient for small logos, names, and repeat orders. The tradeoff is that you need to plan layout carefully, since a badly arranged sheet wastes space and money.
Why did my transfer peel off in the first wash?
Nine times out of ten it is under-cured adhesive, insufficient pressure, or a garment with a silicone or water-repellent finish that prevents bonding. Pre-press the garment to remove moisture, verify your cure, and test on the actual fabric before running the batch.