
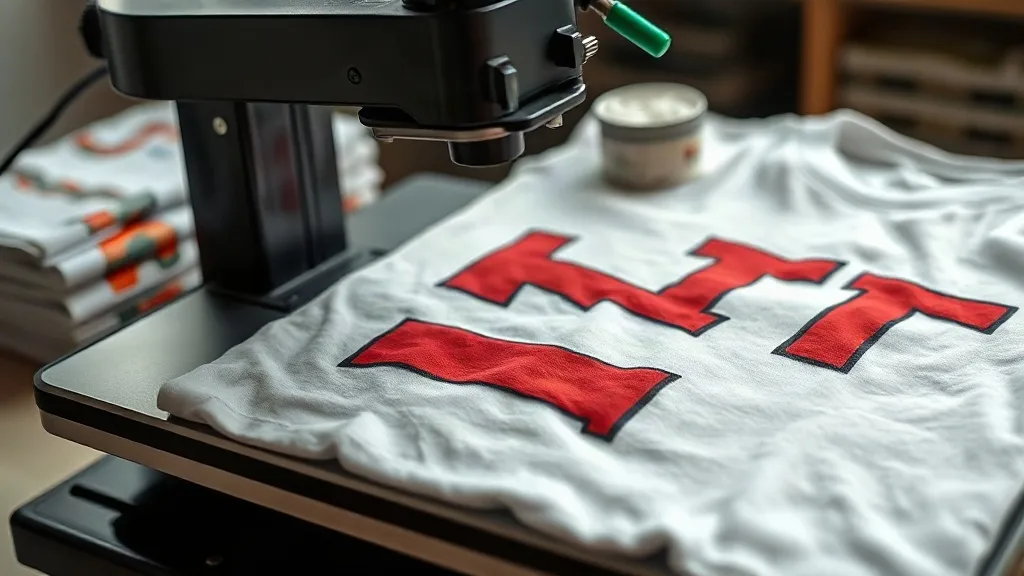
If you've been exploring custom apparel printing, you've likely heard about dtf transfers. This method has exploded in popularity for good reason: it lets you print full-color designs on almost any fabric, from cotton to polyester, without the hassle of weeding or the limitations of traditional screen printing. But if you're new to the game, the process can seem daunting. This guide walks you through each step, from design to finished product, so you can achieve professional results right from your first try.
What Are DTF Transfers?
DTF stands for Direct to Film. The process involves printing your design onto a special film, applying a thermoplastic adhesive powder, and then curing it. Once cured, the transfer is ready to be heat-pressed onto fabric. The result is a vibrant, stretchable, and durable print that can handle intricate details and gradients with ease.
Unlike DTG (Direct to Garment) printing, which requires specially pretreated shirts and works best on 100% cotton, dtf transfers adhere to a wide range of materials, including blends and synthetics. This versatility makes DTF a favorite for small shops and hobbyists alike.
Step 1: Designing for DTF
Your design is the foundation of a great print. While DTF is forgiving, a few design considerations will save you time and frustration.
Color and Resolution
Use high-resolution images (300 DPI is ideal). DTF printers reproduce colors vividly, so ensure your design is in CMYK mode to match the printer's color space. Avoid very fine lines or tiny text that might get lost in the powdering process.
Background and Transparency
DTF transfers require a transparent background. If your design has a solid background, it will be printed as part of the transfer, which is fine but uses more ink and powder. For a softer feel, remove the background if possible.
Step 2: Printing the Film
Printing the film is straightforward if you follow your printer's guidelines. Load the DTF film into your printer, ensuring the coated side faces the print head. Most DTF printers use pigment-based inks that are formulated for film. After printing, let the ink dry slightly before powdering. This step prevents smudging and ensures the powder adheres only to the wet ink.
Step 3: Applying the Powder
The powder is what makes DTF transfers work. It's a hot-melt adhesive that binds the ink to the fabric. Here's how to apply it correctly:
- Shake the powder to break up any clumps.
- Sprinkle generously over the printed area. You can use a powder shaker for even distribution.
- Tap off excess back into the container. The goal is a thin, even layer that covers all the ink but doesn't pile up.
- Check for bare spots and add more powder if needed.
Remember to work in a well-ventilated area and wear a mask, as airborne powder can be irritating.
Step 4: Curing the Powder
Curing melts the powder into the ink, creating a flexible, durable layer. You can use a heat press or a dedicated curing oven. If using a heat press, set the temperature to around 160°C (320°F) and press for 10-15 seconds with light pressure. The powder should look glossy and melted. Avoid over-curing, which can make the transfer brittle.
For small shops, a heat press is often the most accessible tool. Just be sure to use a protective sheet or parchment paper to keep the press platen clean.
Step 5: Pressing the Transfer
Now you're ready to apply the transfer to your garment. Preheat your heat press to 160°C (320°F). Place the garment on the press, then position the transfer with the powder side down. Press with medium to firm pressure for 10-15 seconds. For best results, use a Teflon sheet or parchment paper between the transfer and the press.
After pressing, wait for the transfer to cool completely before peeling the film. Peeling while hot can cause the design to stretch or tear. Once cooled, peel in a smooth, steady motion. Your print should be vibrant and firmly bonded.
Choosing the Right Supplies
The quality of your supplies directly impacts your results. Here's what to look for:
- DTF Film: Choose a film that matches your printer and ink. Cold-peel film is popular for its ease of use.
- Powder: Use a high-quality adhesive powder designed for DTF. Cheaper powders can cause clogs or poor adhesion.
- Inks: Use pigment inks formulated for DTF. They offer better opacity and durability.
- Heat Press: A reliable heat press with even pressure is essential. Look for one with a digital controller for precise temperature and time.
If you're looking for dtf transfers near me, consider sourcing from a reputable supplier who can provide consistent quality and support.
Common Pitfalls and How to Avoid Them
Even with the right supplies, beginners often encounter issues. Here are a few common problems and their solutions:
Powder Not Sticking
If the powder doesn't adhere, the ink may be too dry. Try printing and powdering immediately, or adjust your printer's ink settings to increase ink laydown.
Transfer Peeling After Wash
This usually indicates insufficient pressure or incorrect temperature during pressing. Ensure your press is calibrated and apply firm pressure. Also, wash garments inside out in cold water and avoid fabric softener.
Stiff or Cracked Prints
Over-powdering or over-curing can cause stiffness. Use just enough powder to cover the ink, and cure only until the powder melts. A stretch test after pressing can help you gauge flexibility.
Scaling Up: Tips for Small Shops
Once you've mastered the basics, you can streamline your workflow. Consider a conveyor dryer for curing, which speeds up production. Organize your designs and keep a log of press settings for different fabrics. And always test new materials with a small batch before committing to a large order.
Frequently Asked Questions
Can I use DTF transfers on dark shirts?
Absolutely. Unlike DTG, DTF prints a white ink base under the color, so your design pops on dark fabrics. Just ensure your design file includes the white layer or let your printer handle it automatically.
How long do DTF transfers last?
With proper application and care, DTF prints can last as long as the garment. They withstand multiple washes without fading or cracking, especially if you follow the care instructions.
Do I need a special printer for DTF?
You can convert some inkjet printers to DTF with DTF inks and film, but dedicated DTF printers are recommended for consistent results. They are designed to handle the thicker inks and provide reliable output.
What fabrics work best with DTF?
DTF works on cotton, polyester, blends, and even some nylons. It's not ideal for fabrics with heavy coatings or waterproof finishes, as the adhesive may not bond well.
Can I reuse the film after pressing?
No, the film is single-use. Once the transfer is pressed, the film is discarded. However, you can reuse the powder if it's clean and dry.
Mastering DTF transfers takes practice, but with these steps, you'll be producing professional-quality prints in no time. Remember to source quality supplies and don't hesitate to experiment to find what works best for your shop.